Acquire support data import from various sources: Contentteller 2, Contentteller 1 (Storyteller CMS), WordPress, Invision Community, UBB.threads, vBulletin, Woltlab Burning Board/Suite, and XenForo.
Using the Acquire Import Tool
To access the import tool, go to example.com/cadmin/acquire3.php and login with your admin account.

Configuration
Now you need to configure the import tool by clicking the "Configuration" tab
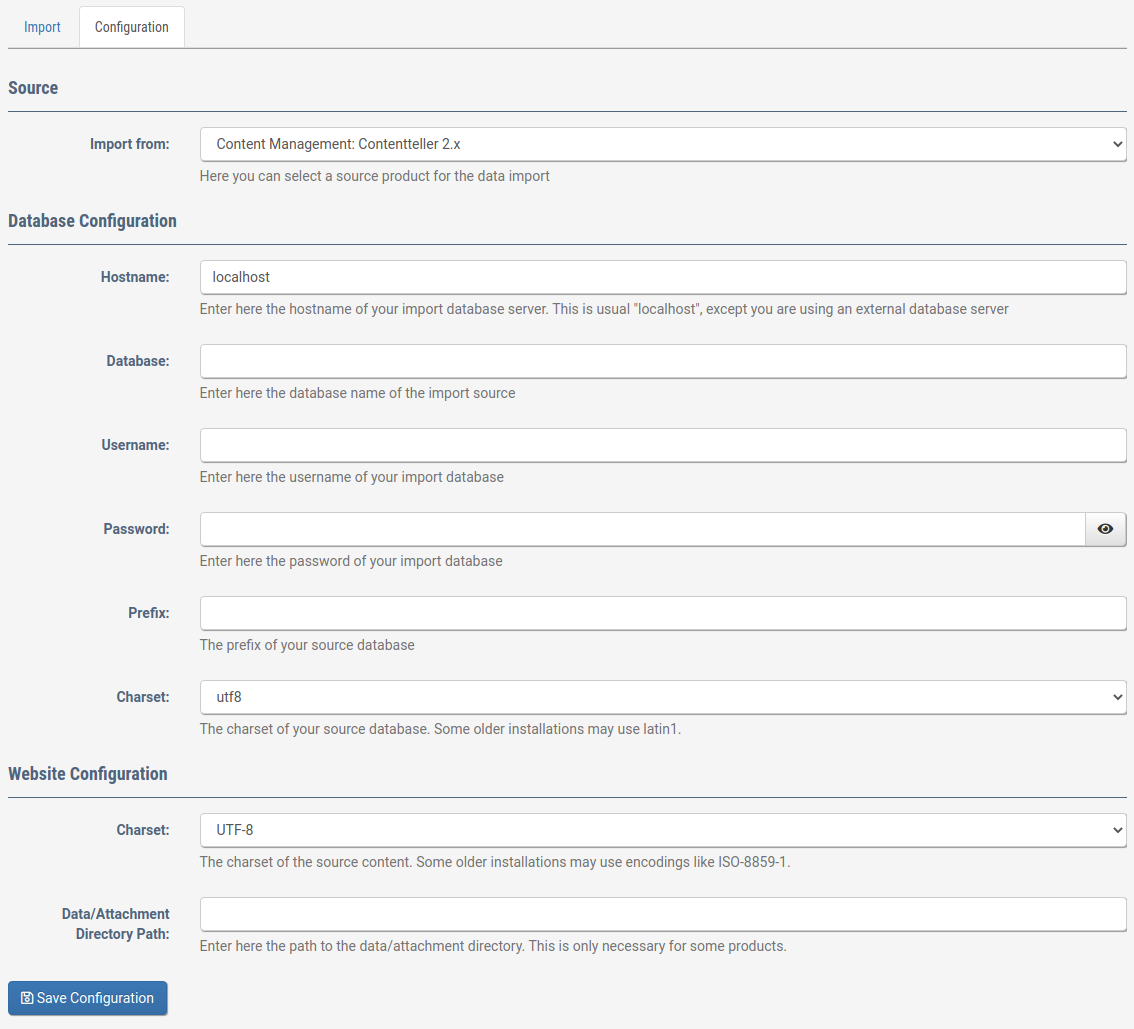
Select the import source and then enter the database configuration of your import source. If you import the data from an older installation, you may need to select "latin1" as charset for your collation while modern installations may use "utf8mb4".
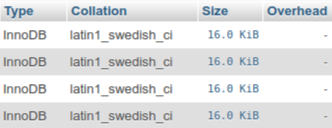
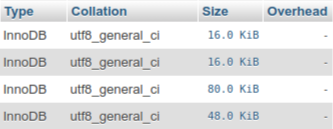
You can find this information in phpMyAdmin.
Tables with latin1 collation:
Tables with utf8 collation:
Tables with utf8mb4 collation:
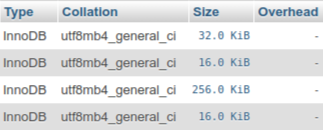
Using the wrong collation during the import will result in some broken characters.
Next, you need to set the website configuration. First, you need to set the charset of your source website. This is in most cases "UTF-8" but some older website may still use "ISO-8859-1". You can find this information in the source code of your website (View Page Source).
UTF-8 encoded website:
<meta content="text/html; charset=UTF-8" http-equiv="content-type" />
ISO-8859-1 encoded website:
<meta content="text/html; charset=ISO-8859-1" http-equiv="content-type" />
Finally, can set the path of your attachment/data directory. Some scripts need this for the attachments import.
For example, if you have a forum installed under /forums and want to import data from there, you need to set ../forums as the path. Once everything is configured, click "Save Configuration".
Import
Now you should see a list of items that can be imported from the source database:
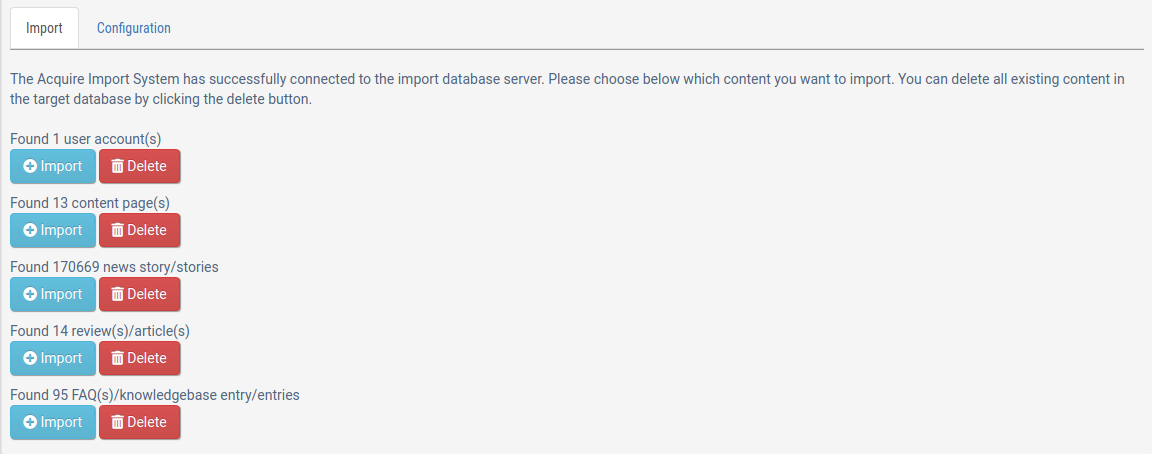
Click "Import" on any section you want to import. In case you want to start over just click "Delete" to remove the imported data again.
Import over CLI/Shell
Instead of the GUI you can use also the CLI based import for the data by running php acquire3.php from the shell:
Contentteller CMS System 3.0.0.2269 (C) 2002-2020 Esselbach Internet Solutions

Usage: php acquire3.php [domain] [section] [thread] [threads]

For example, to import news run the command below:
php acquire3.php contentteller.com news

You can also run multiple instances simultaneous in different SSH sessions to speed up the import:
php acquire3.php contentteller.com news 1 4
php acquire3.php contentteller.com news 2 4
php acquire3.php contentteller.com news 3 4
php acquire3.php contentteller.com news 4 4

Available sections:

Option                            Description
---------------------------------------------------------------------------
users (or -u)                  |  Import users
pages (or -p)                  |  Import pages
news (or -n)                   |  Import news
newscomments (or -nc)          |  Import news comments
files (or -f)                  |  Import files
filescomments (or -fc)         |  Import files comments
reviews (or -r)                |  Import reviews
reviewscomments (or -rc)       |  Import reviewscomments
faq (or -q)                    |  Import faq
faqcomments (or -qc)           |  Import faqcomments
galleries (or -g)              |  Import galleries
galleriescomments (or -gc)     |  Import galleriescomments
discussions (or -d)            |  Import discussions
For example, to import the users just run: php acquire3.php example.com users
You can also do a multi-threaded import by running: php acquire3.php example.com users 1 4, php acquire3.php example.com users 2 4, php acquire3.php example.com users 3 4, php acquire3.php example.com users 1 4 in four different shell sessions. However, this is very I/O heavy and work only well with PCIe based storage such as NVMe/U.2 drives.
Redirecting old URLs
Contentteller has an integrated rewrite engine to redirect URLs from your old installation to the new installation.

The Acquire import tool is automatically adding the old URLs as "301 Moved Permanently" redirects to the rewrite database. Just ensure that the internal rewrite engine is enabled: WEBSITE => Settings => Rewrite Engine => Enable Rewrite Engine => Enabled

